To start on your Worldly journey, create an account on platform (app.worldly.io). Then learn how to navigate the Worldly platform and complete additional steps to ensure your success using our tools.
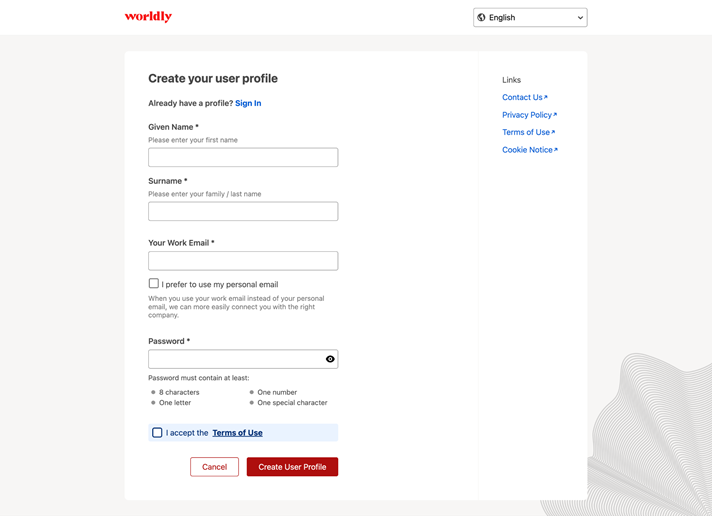
2) Fill in your personal information. We recommend using your work email address.
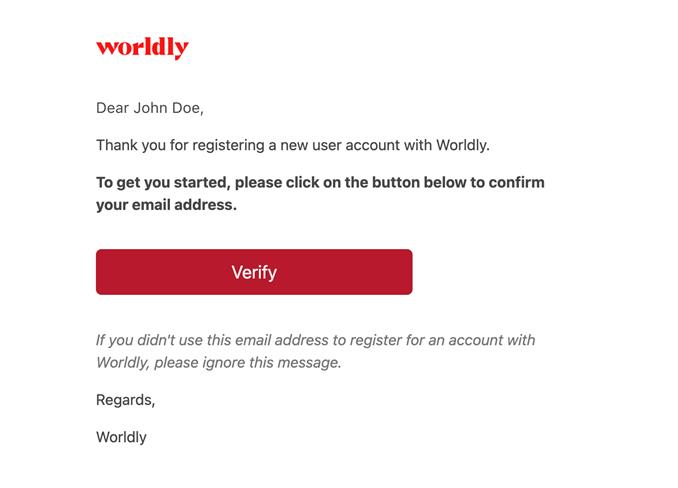
3) Go to your email and confirm your email address via the button in the email
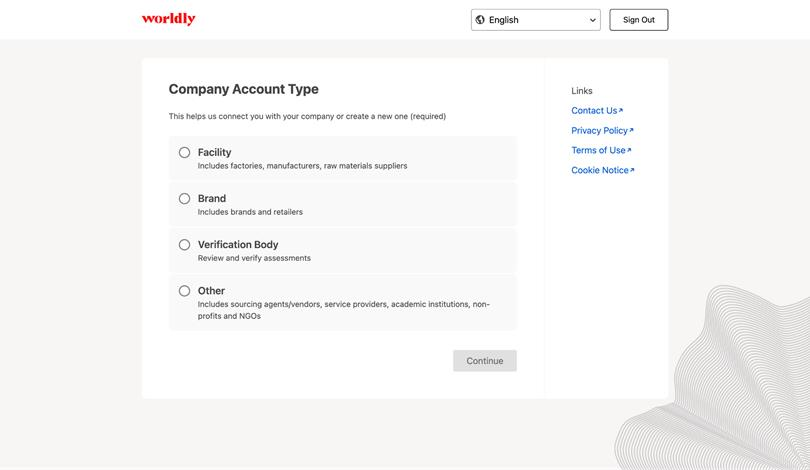
4) Once you have verified your email, you can create or join a company account. First select the company type.
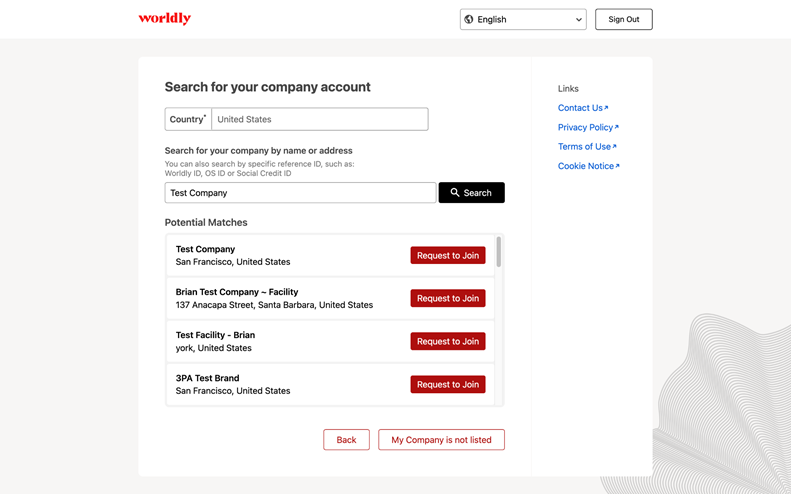
5) Then you will be prompted to search for your company. We recommend searching to confirm there is not already an existing account, as any duplicate accounts will be declined. If you are sure, you can select ‘create a new company account’.
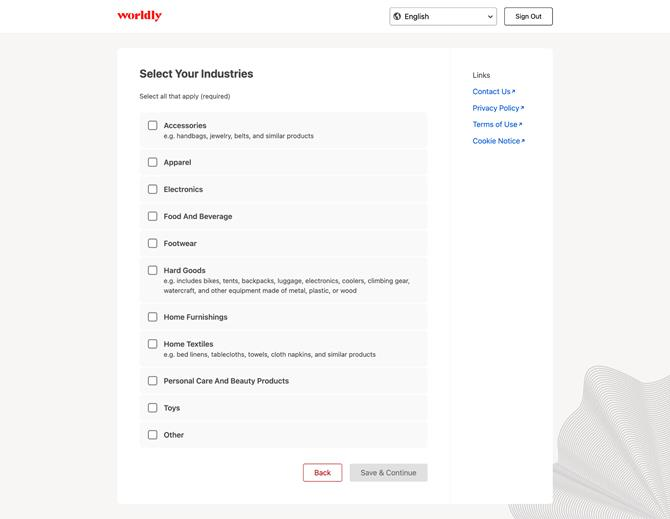
6) Next select your industry or industries.
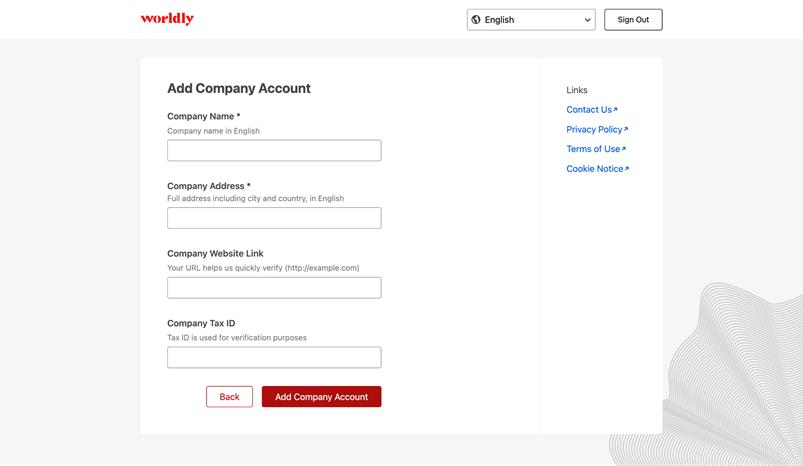
7) Then fill in your company information and select create a new company account.
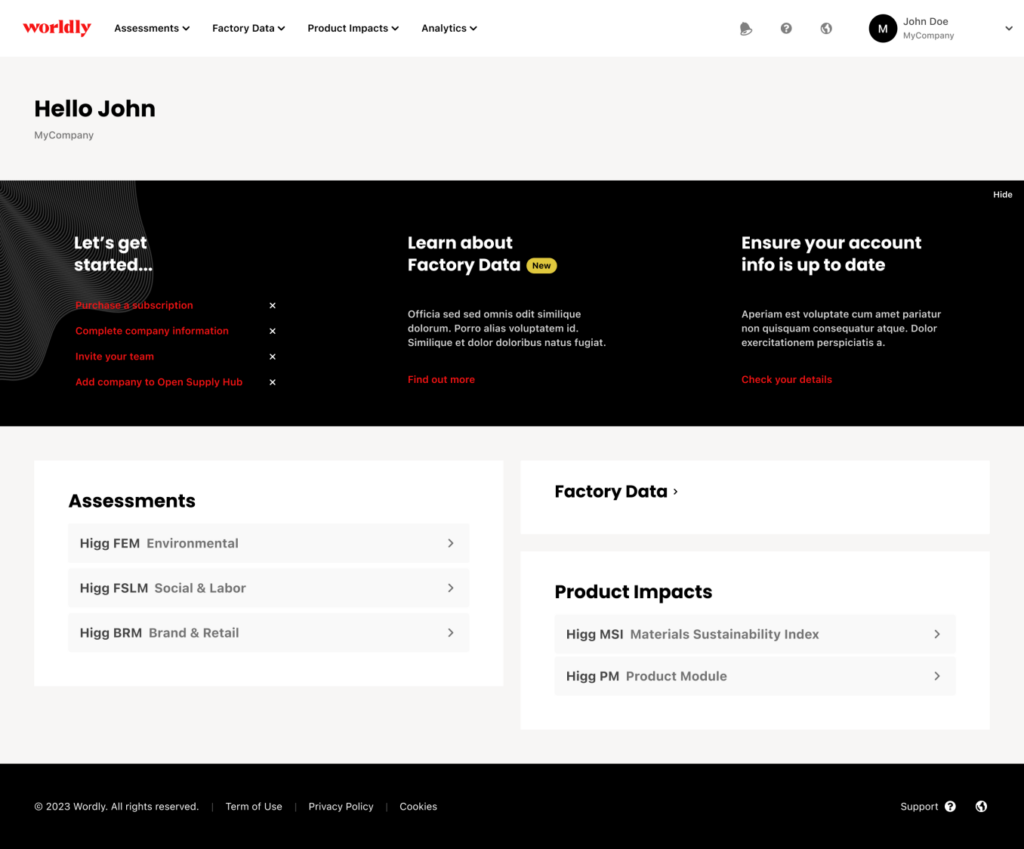
8) You have successfully created your new account! Follow the steps on the account homepage to complete the setup process.
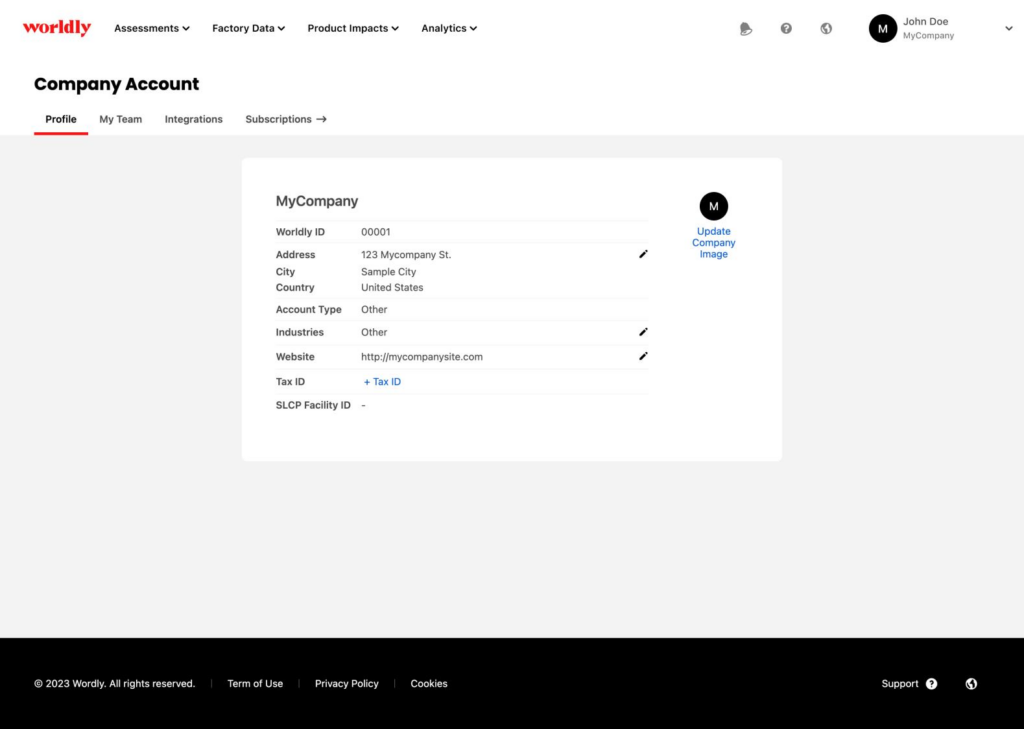
9) Once you have successfully created your account, you can view your account and add any additional information (like a photo or website link) by clicking the ‘Account’ button on the sidebar of the homepage.
2. Add Team Members
Once you have created an account, additional team members can be added to the account to access the collected data, support in completing the modules, etc.
To invite a new user to the account:
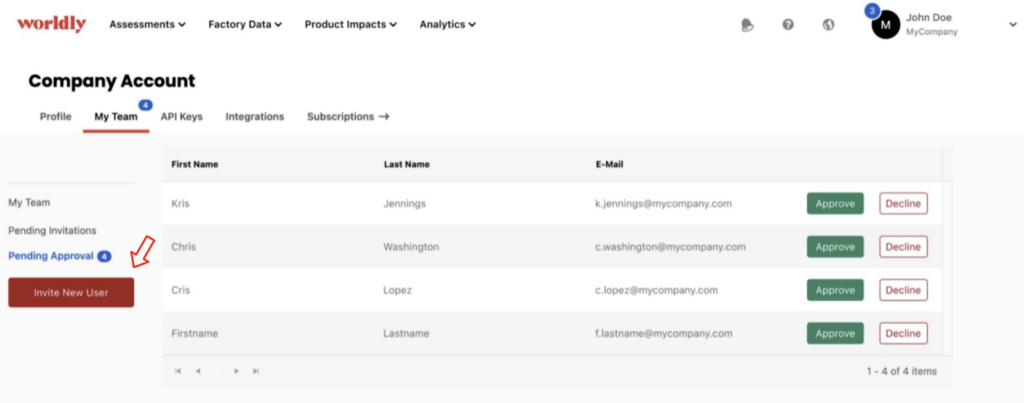
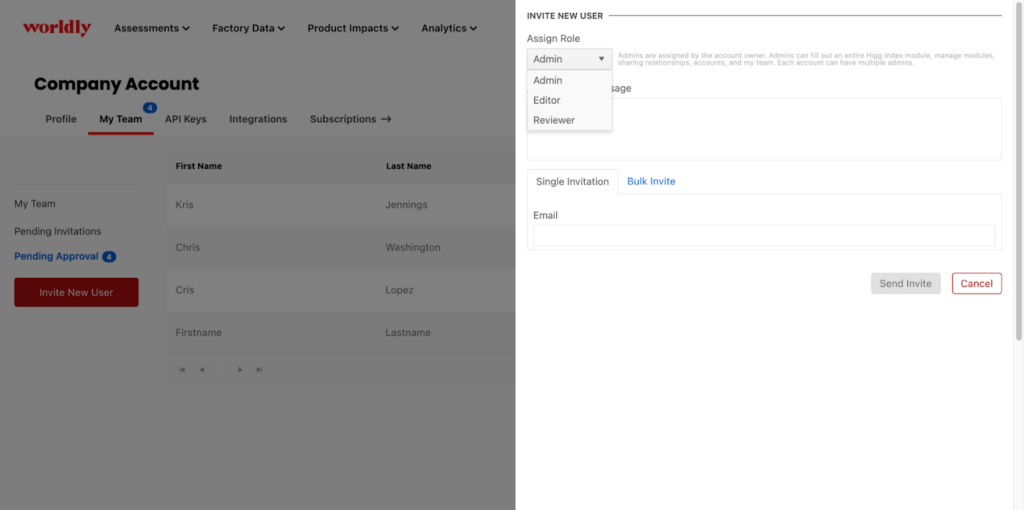
Go to the ‘My Team’ tab and click the Invite New User button.
Assign the user role –
Admin: Admins can fill out an entire Worldly or Higg Index assessment, manage modules, sharing relationships, accounts, and my team.
Editor: Editors can access a Worldly account and edit entire individual modules. Editors cannot request a module or share a module, post or unpost modules.
Reviewer: Reviewers can log into a Worldly account and view entire individual modules. Reviewers cannot edit modules, request a module or share a module, publish or withdraw modules.
Add the email address and send the invitation. Once the user accepts, they will have access to the account.
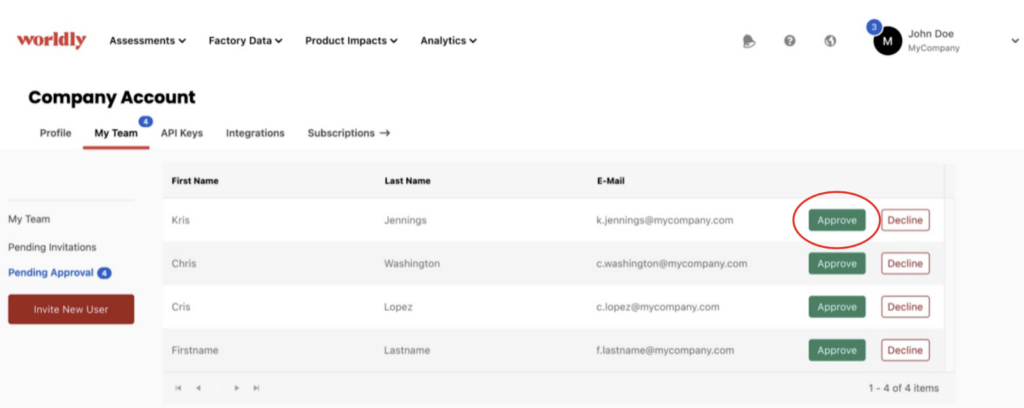
To review a pending new user request:
If a user has created an user account and requested to join your company account, it will appear as a request pending approval.
Review the request and either approve or delete it using the buttons at the right.
3. Additional Platform Features
There are a number of extra features on the platform that are helpful to know and understand.
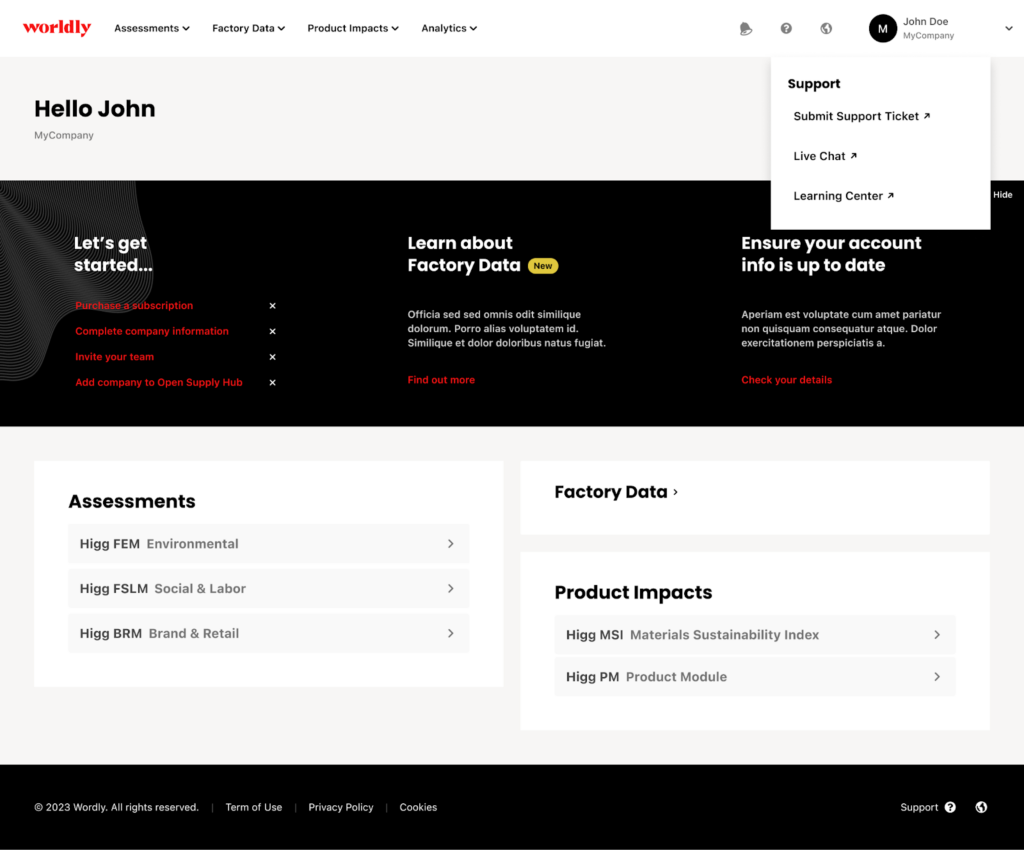
Support: Where you can find our support resources
Submit a support ticket: this is another place to access our customer support and submit a ticket for any questions or issues you encounter.
Live chat: starting a chat with our support team for any questions or issues you encounter.
Learning center: this link will take you to our training site, with all our detailed training resources, e-learning course, training calendar and guidance.
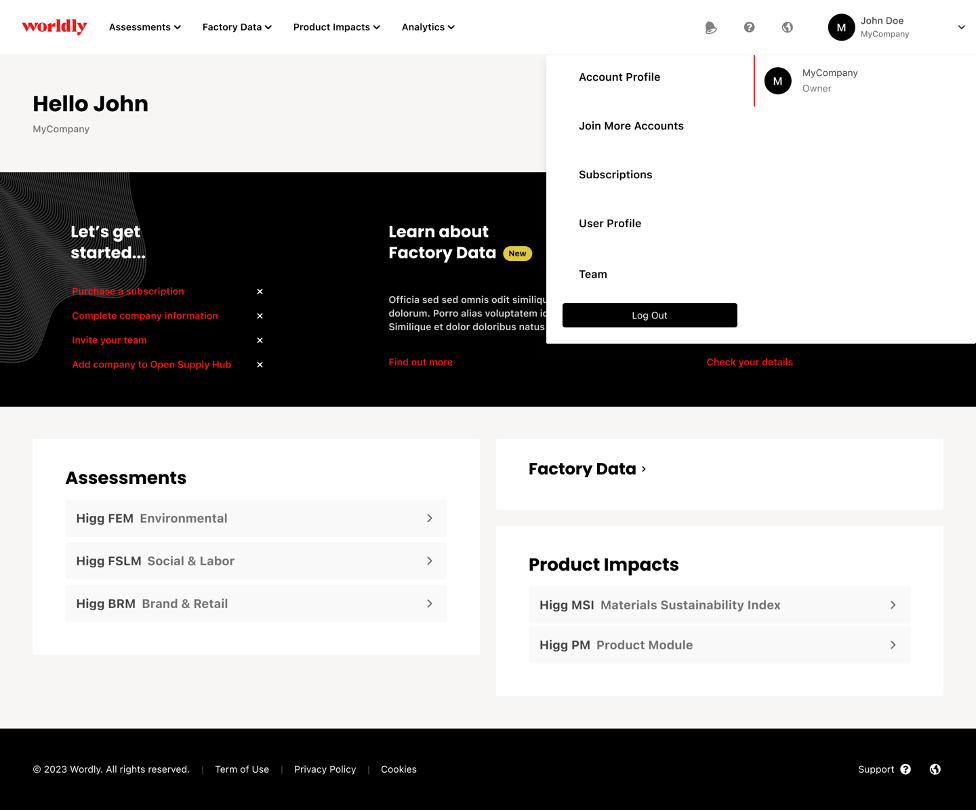
Join More Accounts: if you need to join another account on our platform, click this button to search for and request access to the additional account(s).
Account profile: contains your account information, including your Worldly ID (Higg ID) number.
User Profile: contains your user information, including email and email preferences.
Subscriptions: review all subscription options available and purchase if you have not already.
Team: Manage your team members in your Worldly account. See above.
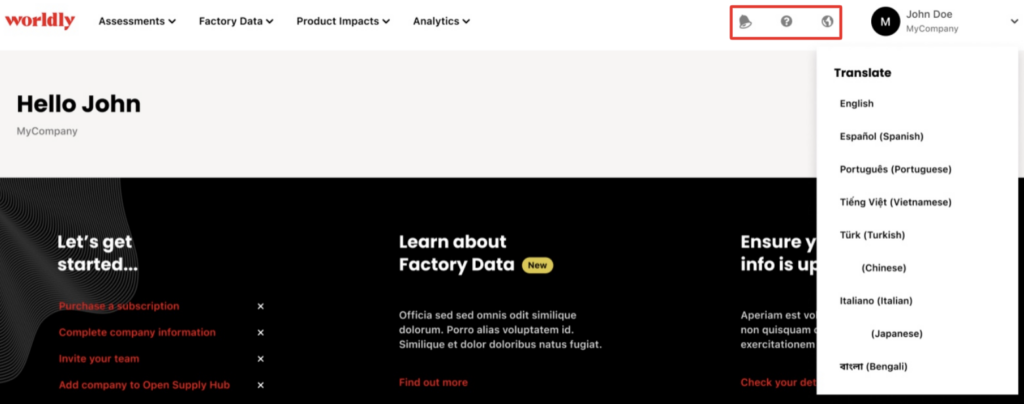
Language: the platform can be changed into any of the available languages using the language button as well as the language of the automated platform emails. However please note that all modules MUST be completed in English, regardless of if you change the platform language.
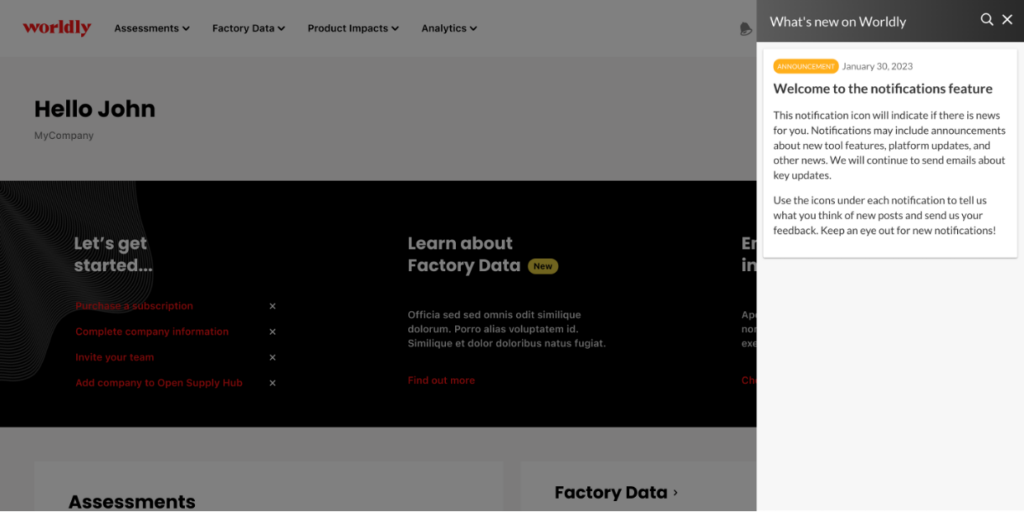
Beamer: the bell icon will share any important information such as tool releases or updates, upcoming trainings, etc.